
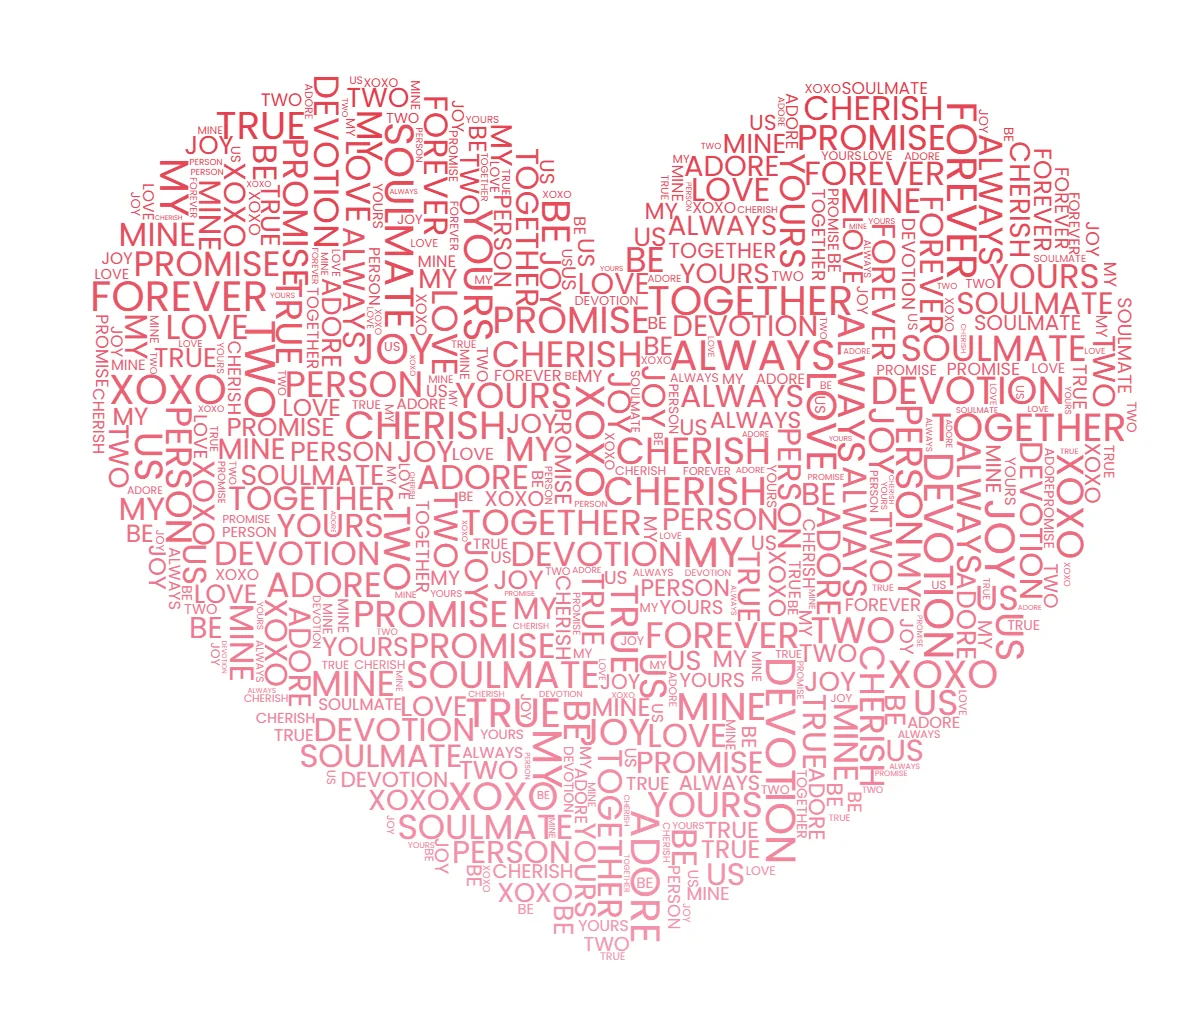
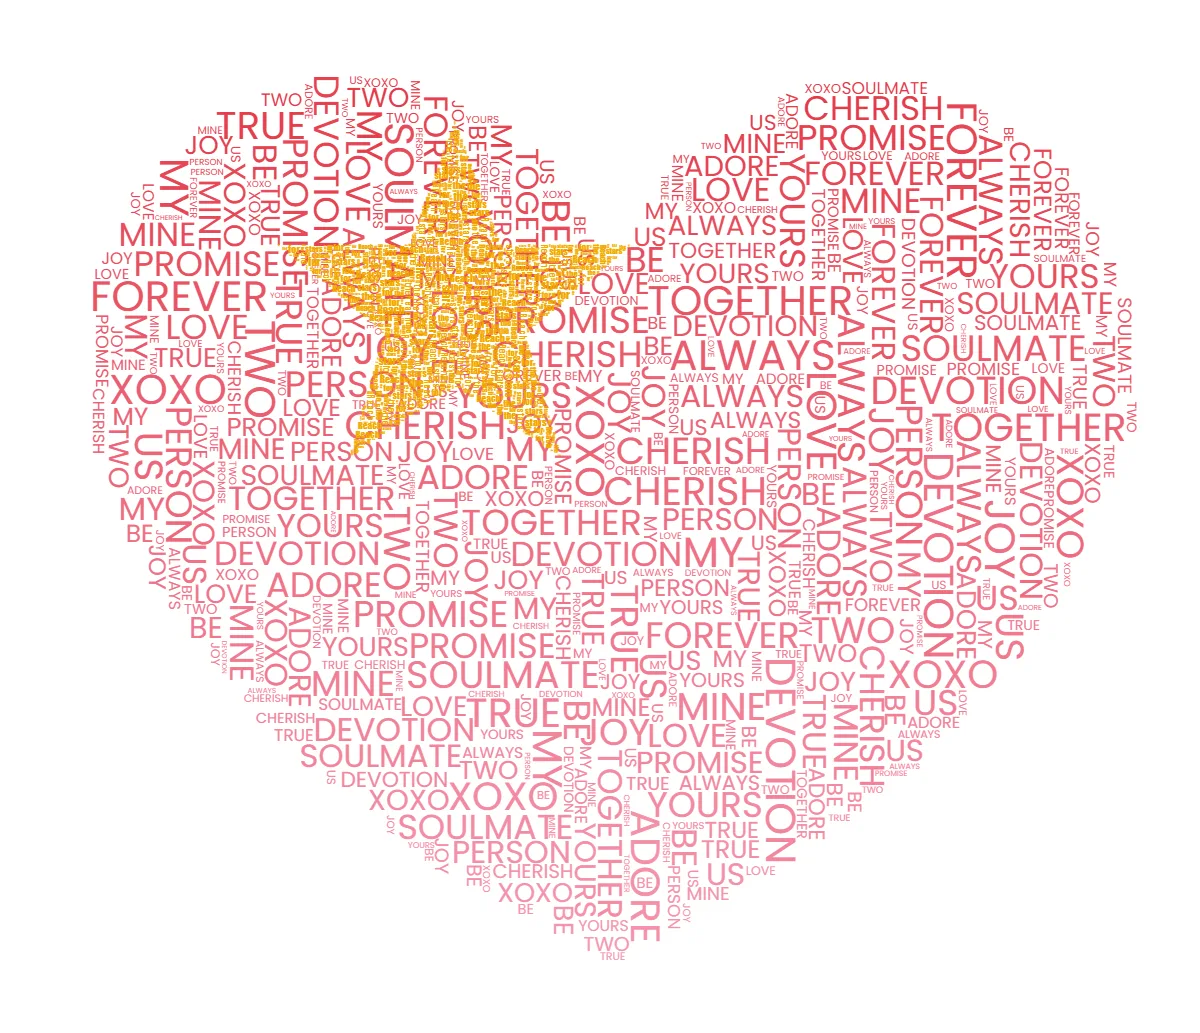
Until now, every word art design in TextShape was one image: one shape, one word list, one look. Image layers change that. You can stack up to three designs into a single picture, and each layer carries its own complete design. Its own words, its own fill style, its own colors and fonts, its own headlines, even its own image edits. A name-filled heart with a smaller word-art accent arranged on top, a poster built from two or three word shapes, a background photo under a cloud of words: each of those is now one export instead of three separate files stitched together somewhere else.
Nothing else about TextShape changes. Every layer is drawn in your browser, on your device, and the whole thing stays free, with no signup and no watermark. Here is how layers work and what they are good for. If you want to follow along, open a shape in the editor and start with a single design.
Every way to add a layer
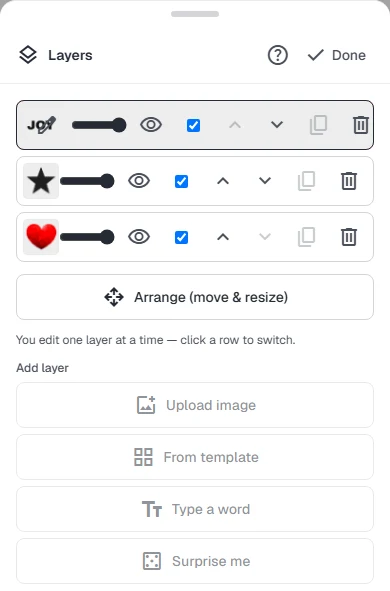
A new design opens as a single layer. To add a second or a third, open the Layers panel and choose how the new layer arrives. You have four ways in, plus a fifth shortcut once a layer already exists.
| Add a layer by | What lands on the canvas |
|---|---|
| Uploading an image | Your own photo or PNG, as a fresh layer |
| Picking a template | A silhouette shape from the library, ready to fill |
| Typing a word | The word itself, shaped into letters you can fill (word-as-shape) |
| Rolling Surprise me | A complete random design to build on |
Surprise me is the quickest way to fill a layer you are not precious about; the other three routes hand you a shape to fill with your own exact words rather than a generated design, the AI generator versus exact words trade in miniature. The fifth way in is Duplicate: one tap copies the layer you are on, and the copy lands directly above the original, ready to recolor or restyle into a variation. And a layer does not have to be filled with words at all. An uploaded image on its own makes a perfectly good background or a small accent, so you can drop a photo behind your text or a plain mark beside it. The full template library and the word art generator both feed straight into this.
One layer at a time, arranged on the canvas
You edit one layer at a time. Click a row in the panel to make it the active layer, and every control in the editor, the words, the fill style, the colors, the fonts, the headlines, now applies to that layer only. To place a layer, switch on Arrange mode and move or resize it right on the canvas, dragging it where it belongs and scaling it to size. Each row also carries its own opacity slider for fading a layer back, an eye that hides the layer everywhere (a hidden layer never appears in the export either), and a checkbox for the reverse trick: keep a layer visible while you work but leave it out of the exported file.
Undo still covers everything
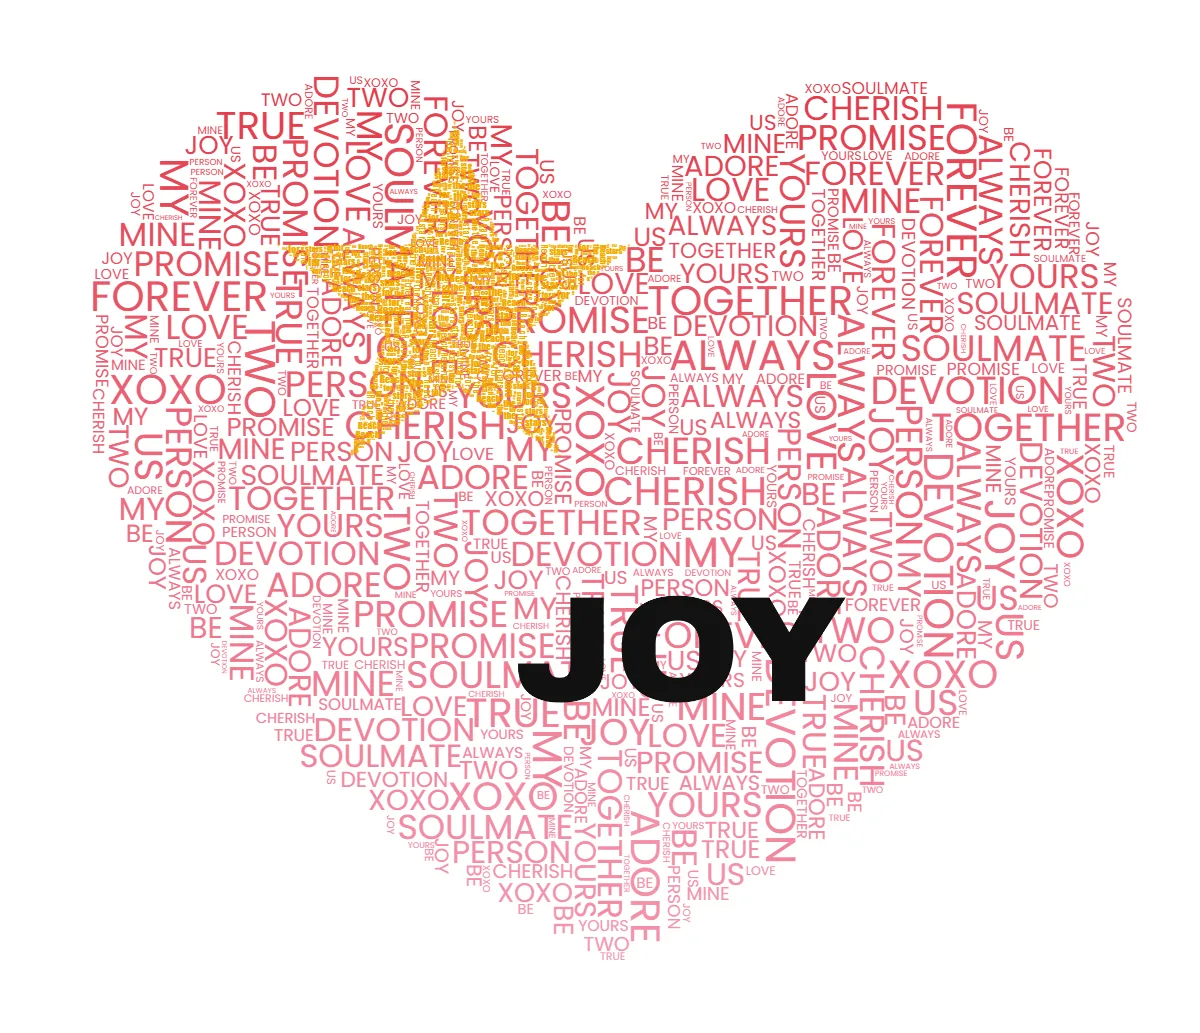
There is one undo timeline for the whole project, not one per layer, so Ctrl+Z walks back through your changes in the order you made them, no matter which layer each happened on. If your last change was on a different layer than the one you are looking at, undo switches you back to that layer first and tells you it did, so you are never editing blind. It is the same single history the rest of the editor uses, now aware of which layer each step belongs to.
Exporting the whole stack
When the design is ready, export flattens every included layer into one PNG. Each layer is redrawn at the export resolution rather than scaled up from the preview, so the text stays crisp at full size, exactly as it would if it were the only design on the canvas. Sharing works on the full stack too. The animated MP4 and GIF reveal and the vector SVG cut file still export from a single-layer design, which the export guide covers in full, so if you want a moving reveal or a Cricut-ready cut, keep that piece to one layer.
When to reach for layers
- A layered gift: a name shaped in one layer sitting on a heart or an animal built from words in another, the kind of piece the how to make word art guide builds one layer at a time.
- A poster composition: two or three word-art elements arranged into one scene instead of a single centered shape.
- A small accent over a big design: a logo, a monogram, or one starred word dropped into a corner of a larger piece.
- A photo background with a word-art overlay: an uploaded image on the bottom layer, your words on top, the same idea as word art from a photo with a second design floating above it.
- A quick variation: duplicate a layer, recolor or reword the copy, and compare the two before you commit.
My own habit is to build the base first, get it exactly right, then add the second layer as a duplicate so it inherits the look before I change anything. Three layers is the ceiling on purpose, enough to compose something real without turning the editor into a full layout program. Start from a shape in the editor, or open the word art generator and stack your first design.